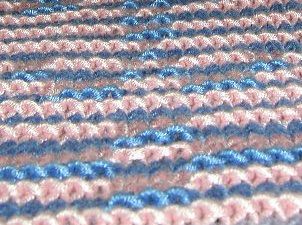
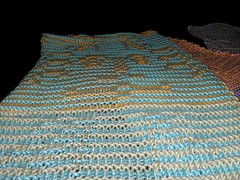
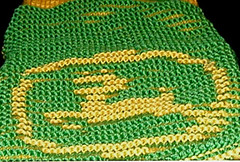
 There's a knitting technique called "illusion" or "shadow" knitting, which you can use to put secret messages in your knitting! Well, sort of.
Illusion knitting is actually very simple, technique-wise. You're just using knit and purl stitches, which are about as simple as it gets. Take a look at a smooth sweater. The knit stitches are usually on the front (the "right side") and look like little Vs. On the reverse ("wrong") side, the purl stitches look like horizontal lines, or minus (-) signs. A knit stitch on the right side is the same as a purl stitch on the wrong side, and vice versa.1
 Illusion knitting takes advantage of how knit and purl stitches interact side-by-side. When you have knit stitches and purl stitches on the right side of the same column, the purl stitches stick out above the plane on the fabric, while the knit stitches look flat.2 All you do is use two colors, alternating rows of each. Actually, you're alternating pairs of rows. The first row of each color is always knit, so it's "flat." The second row is where the illusion comes in. A set of four rows, two of each color, becomes one line of your picture. A knit stitch for one color is complemented by a purl stitch of the other color, so when viewed at an angle, only the purl stitch shows. When viewed straight on, the piece just looks like a bunch of stripes.
It might help to think of each "pixel" as a pair of push buttons. When one is pressed in, the other pops up. If you viewed them at an angle, one in front of the other, you would only see the one that is currently sticking out.
I don't think Spoon has figured it out...
 Or he wants to know when he gets his own illusion scarf.
1It is all a matter of perspective. Technically, when you're making a knit stitch, you hold the yarn in the back of the work. When you're purling, you're holding the yarn in front. But they're just two sides of the same coin, er, stitch.
2Paradoxically, in ribbing, which are just vertical columns of knit stitches alternating with purl stitches, the knit columns stand above the purled columns. Weird, huh?


No comments:
Post a Comment